
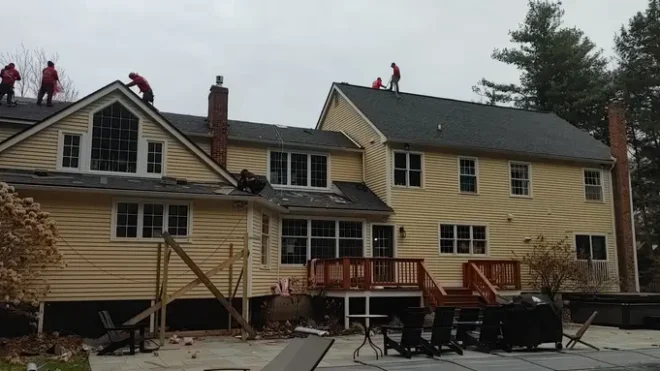
As the leaves change color and the air turns crisp, it’s time to prepare your roof for the challenges of winter. A thorough roof inspection can save you from costly repairs down the line, ensuring your home remains cozy and protected. In this listicle, we’ll go through the essential items you should include in your fall roof inspection checklist. Let’s dive in to make sure your roof is ready for the colder months ahead!
1. Check for Damaged or Missing Shingles
Inspect your shingles for any signs of damage or loss, as these issues can lead to leaks and further deterioration.
It’s essential to take a closer look at the edges and corners of your roof, where shingles often wear down faster. Even a small crack can become a significant problem once the snow begins to accumulate.
If you find a few damaged shingles, don’t panic; many homeowner-friendly options for replacement exist. Just remember, the time to act is now, before the ice sets in!
2. Inspect Flashing and Sealant
Make sure that the flashing and seals around chimneys, vents, and skylights are intact to prevent water seepage.
Poorly sealed flashing can be a culprit for leaks during winter storms, as water may find its way inside your home. Look closely for gaps or signs of wear that could worsen with freezing temperatures.
Consider re-caulking or resealing any areas that seem compromised. This small step can make a world of difference when heavy snowfall hits!
3. Clean Out Gutters and Downspouts
Removing leaves and debris from gutters ensures proper water flow and helps prevent ice dams from forming.
Ice dams can be a nightmare for homeowners, as they can push water back under your shingles and into your attic. Regular cleaning, especially before winter, is critical in keeping your roof healthy.
You might also want to check the downspouts to ensure they aren’t cluttered as well. Ensuring that water drains away from your home’s foundation is crucial for overall structural integrity.
4. Look for Mold and Algae Growth
Check for any signs of mold or algae on your roof, as these can weaken shingles and lead to further issues.
The presence of mold can indicate moisture retention and potential leaks. If left untreated, mold can spread quickly, impacting not only your roof but the entire home environment.
Consider contacting a professional for remediation if you notice significant growth; prevention is key in maintaining a healthy roof and home.
5. Check the Attic for Signs of Leaks
A quick attic inspection can reveal hidden leaks or moisture issues that may not be visible from outside.
The attic’s temperature and humidity differ from the outside, making it a perfect place to spot early signs of trouble. Look for discoloration or water spots, which could indicate leaks ready to burst!
Even if you don’t see immediate damage, consider installing a moisture meter to keep track of humidity levels and avoid future problems.
6. Examine Roof Vents for Blockages
Ensure that roof vents are clear of obstructions to promote good airflow and prevent moisture buildup.
Proper ventilation is crucial for preventing heat from escaping, allowing for adequate airflow that reduces the risk of mold growth. Pay attention to both intake and exhaust vents.
If you’re unsure about the condition of your vents, they’re worth a closer inspection, as blockages can directly impact your roof’s health during the winter months.
7. Inspect for Rust on Metal Roofs
If you have a metal roof, keep an eye out for rust spots or corrosion which can compromise its integrity.
Keep in mind that metal roofs are known for their durability but can still develop issues over time, especially if water pools or debris collects on the surface.
Addressing rust spots promptly can save you from costly repairs down the line, ensuring your metal roof remains sturdy and protective all winter long.
8. Assess Your Roof’s Overall Condition
Take a step back and assess the overall condition of your roof, noting any areas that seem to be sagging or worn.
Sometimes, what might appear as minor issues can signal larger problems lurking beneath the surface. If you notice significant sagging, enlist the help of a roofing contractor ASAP.
A comprehensive assessment can help you determine if repair or replacement is the most prudent choice as winter approaches.
9. Schedule a Professional Inspection for Peace of Mind
If you’re unsure about the condition of your roof, consider hiring a professional to conduct a thorough evaluation.
While DIY inspections can be effective, sometimes experts can catch issues that you might miss. A professional inspection can provide valuable insights into your roof’s overall health, preventing future issues.
Plus, many roofing contractors offer maintenance packages that make ongoing care easier, giving you peace of mind throughout the winter season.
10. Plan for Winter Preparations
After addressing any issues, make a plan for regular maintenance and what needs to be monitored throughout the winter months.
Think about how you can remain proactive—perhaps setting reminders for yourself to check gutters or roof vents periodically.
This ongoing attention can help ensure your home remains safe and secure against the elements, allowing you to enjoy those snowy days without worry!